

Add response headers
The Response headers (add) option sets custom HTTP headers that CDN servers include in responses to end users. If the same header is already configured on the origin server, the CDN server overrides its value. To configure the option:- In the Gcore Customer Portal, navigate to CDN → CDN resources.
- Click the resource to open its settings.
- In the left panel, click HTTP headers to expand the section, then click Response headers (add) to jump to the option.
- Enable the Add response headers toggle.
Up to 50 response headers can be added per resource.
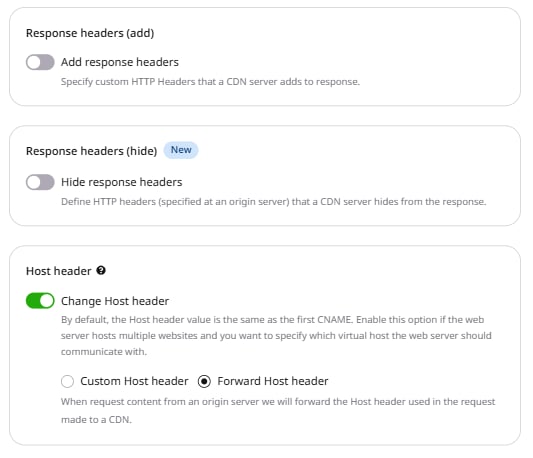
- In the Header name field, enter a header name.
- In the Value field, enter the header value.
- The Always add the header to response from CDN regardless of response code checkbox is enabled by default, which adds the header to all responses. To add the header only to responses with codes 200, 201, 204, 206, 301, 302, 303, 304, 307, and 308, uncheck the box.
- Click Add header to add more headers. Fill in the fields for each additional header.
- Click Save changes.
In the CDN API, this option is the
static_response_headers field in the resource options object. Gcore deprecated staticHeaders in favor of static_response_headers — use the latter for all new configurations. The always field on each header object controls status code filtering: false limits the header to responses with codes 200, 201, 204, 206, 301, 302, 303, 304, 307, and 308; true adds it to all responses regardless of status code.static_response_headers in the resource options:
Add multiple header values
To add more than one value to the same header, enter them in the Value field in one of two ways:- Separate strings: enter the first value and press Enter, then enter the second value and press Enter. Repeat for each additional value.
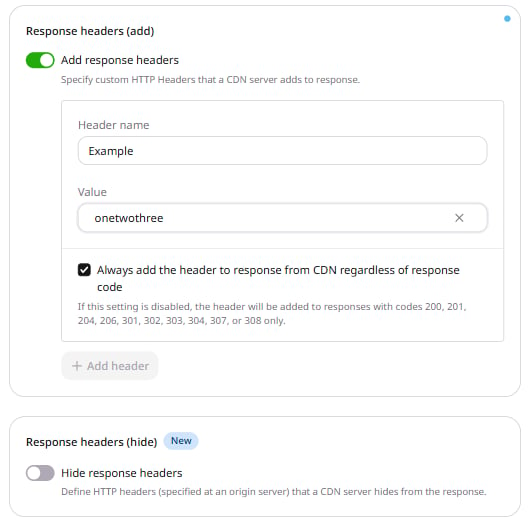
- Single string: enter all values in the Value field separated by commas.
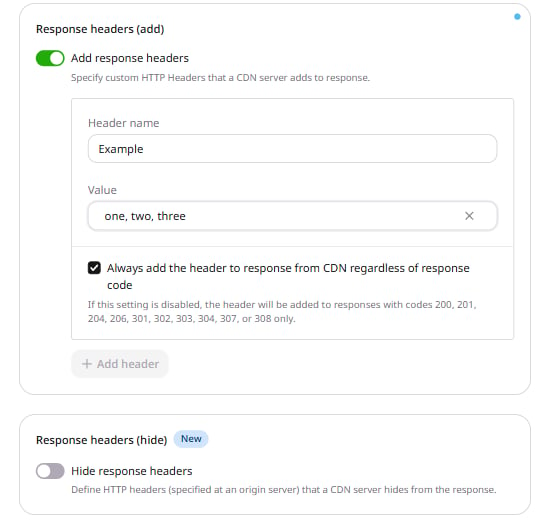
Example: one, two, three
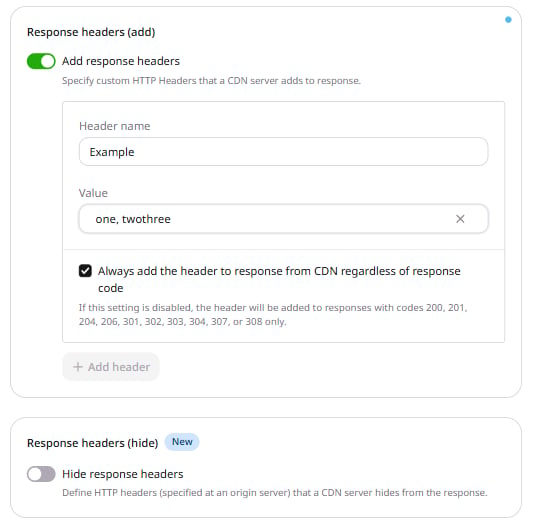
Both methods can be combined: enter values separated by commas and press Enter to start a new string.
- Header name: Latin letters (A–Z, a–z), numbers (0–9), underscore (_) and hyphen (-)
- Value: Latin letters (A–Z, a–z), numbers (0–9), a space and the following special characters:
~!@#%^&*()-_=+ /|";:?.><{}[]
- Invalid characters:
$' - Cannot start with a special character
- Cannot contain only special characters
Check headers
After saving the configuration, verify the header appears in CDN responses.- Clear the cache of the CDN resource or files for which the header was added.
- Run the following cURL command, substituting the file URL:
- If the response contains the configured header, the setup is complete.
Hide response headers
By default, a CDN server passes all HTTP headers it receives from the origin server to end users. To control which headers are included in responses:- In the Customer Portal, navigate to CDN → CDN resources.
- Click the resource to open its settings.
- In the left panel, click HTTP headers to expand the section, then click Response headers (hide) to jump to the option.
- Enable the Hide response headers toggle.
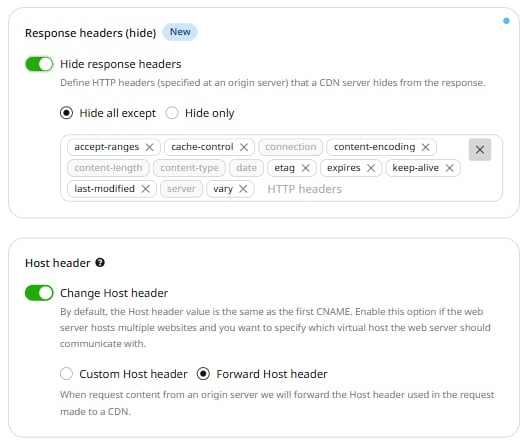
- Select a mode:
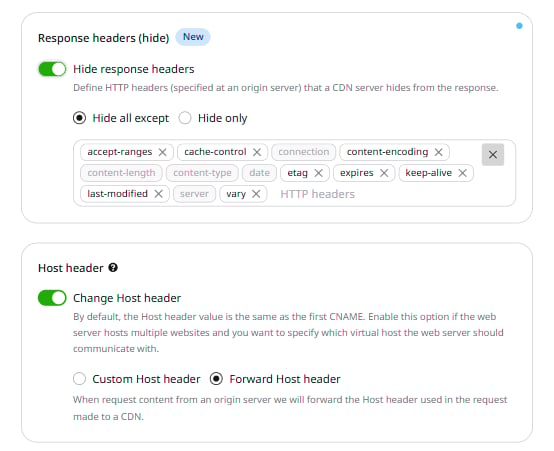
- Hide all except — set the headers to keep in the response; all other headers are hidden. After enabling, the most common headers appear pre-filled. Remove headers by clicking the × icon, or add headers by clicking the HTTP headers row and selecting from the list or entering a name. Header names accept letters (a–z), numbers (0–9), dashes (-), and underscores (_).
- Hide only — set the headers to hide from the response; all other headers are kept. Click the HTTP headers row and select from the list or enter custom header names.
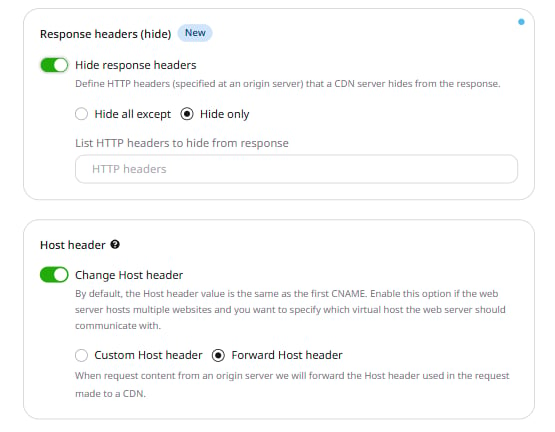
The following headers are mandatory and cannot be hidden: connection, content-length, content-type, server, and date.
- Click Save changes.